Silencing the Theoben MFR
The Theoben MFR is simply not very quiet as standard and I wanted to improve this. I tried Theoben’s add-on module but, while it is quite effective, I didn’t like the extra length so I started looking for alternative solutions..
Modifying the vented support
A suggestion from Jon Budd (Buddy Boy) was to modify the vented support inside the shroud. He suggested that the rear vents should be opened up as much as possible and that the holes in front of the muzzle of the barrel should be elongated into slots. I did this and found not only a substantial decrease in noise but also a noticeable decrease in group size. I can only guess that the vented support is acting as an air-stripper as more of the air propelling the pellet is forced back into the shroud.
Start by unscrewing the front cap from the shroud. Next, unscrew the shroud from the back cap and carefully slide it forward until it clears the vented support. Loosen the grub screw retaining the vented support then remove the support from the barrel.

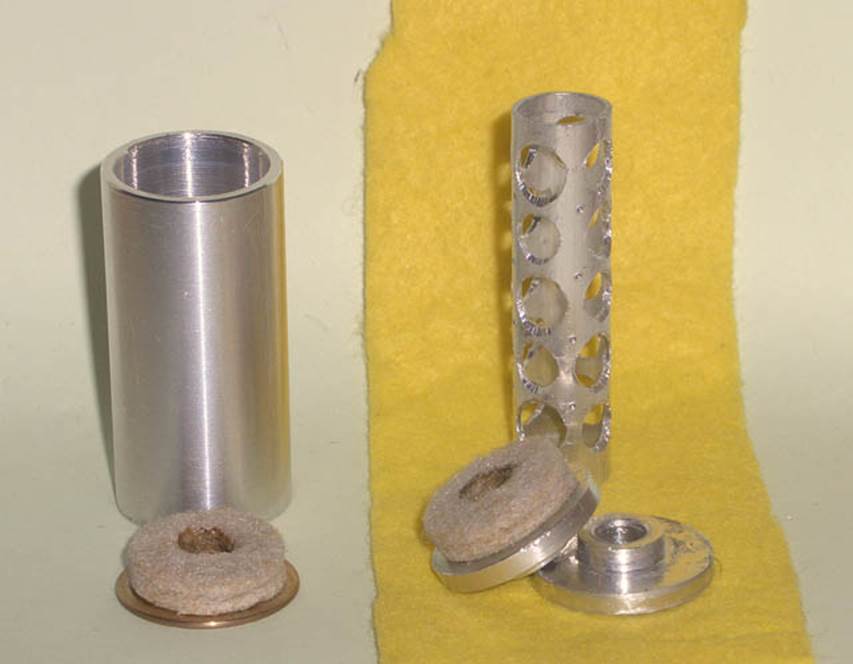
This photo shows the rear end of the standard vented support and the modified version.
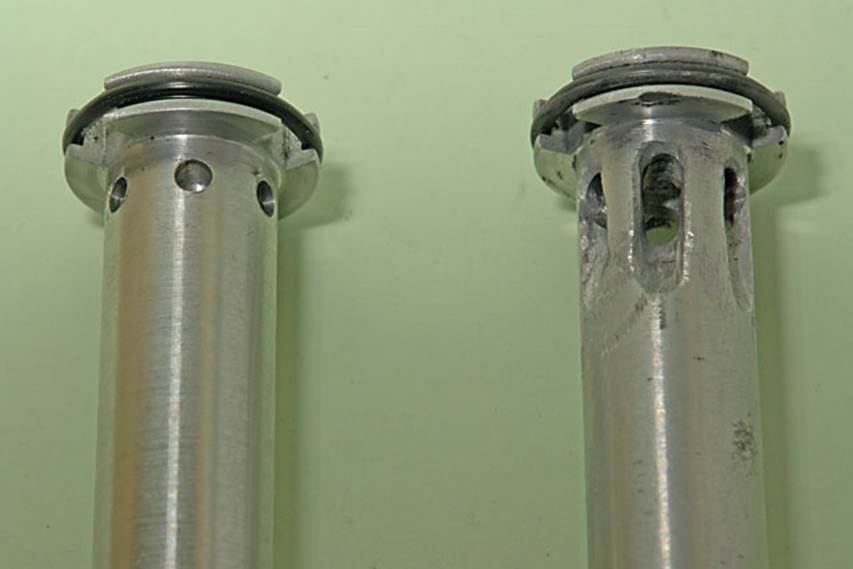
This shows the standard holes at the front of the support and my modified version. A neater solution than my rather crude workmanship in making the slots would be to drill out the standard holes slightly then drill a second and even a third set of holes behind them. I didn’t have the facilities to do this accurately so did what I could with a Dremel and grinding wheels.
Note that the holes in the standard support have not been drilled completely through so are partially blocked and even less effective than they should be. I've heard that this is not uncommon on production MFRs.
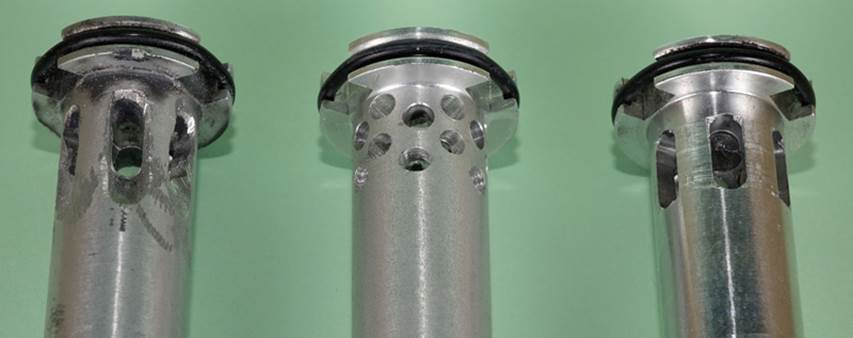
I’ve finally
modified a support by drilling a series of holes which looks much neater than
my original effort and I’m hoping to have one professional milled with slots in
the near future.
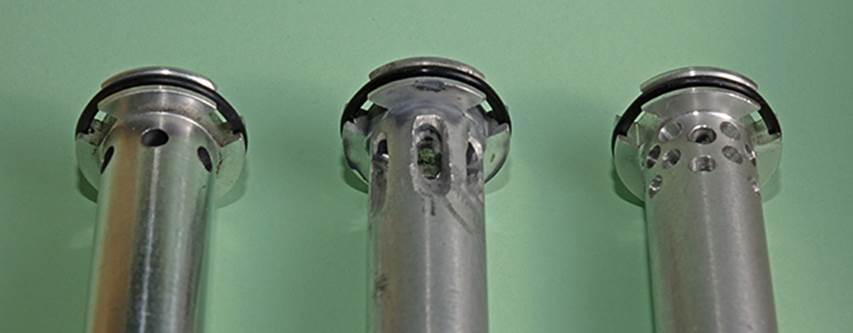
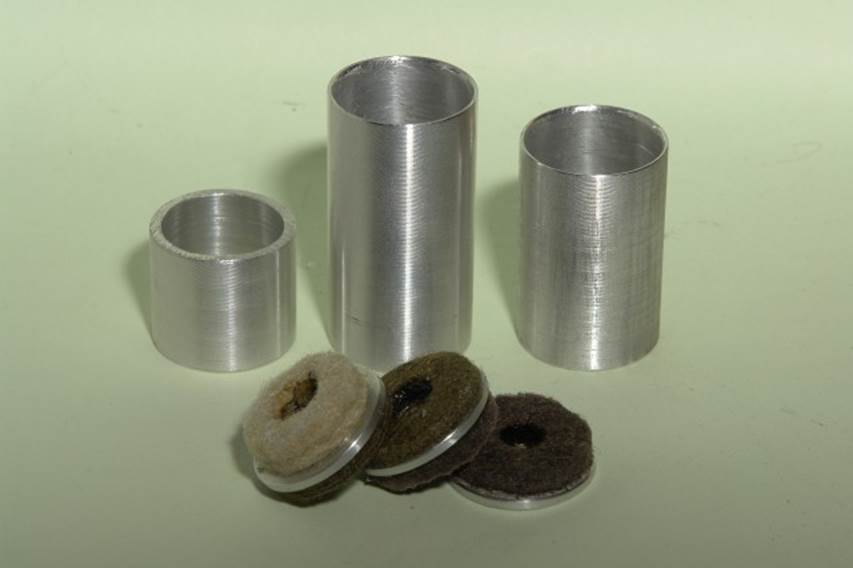
The unmodified
support has now been milled.
Just in case
anyone needs to replace it, the o-ring around the
support is 18.5mm I/D, 1.75mm C/S.
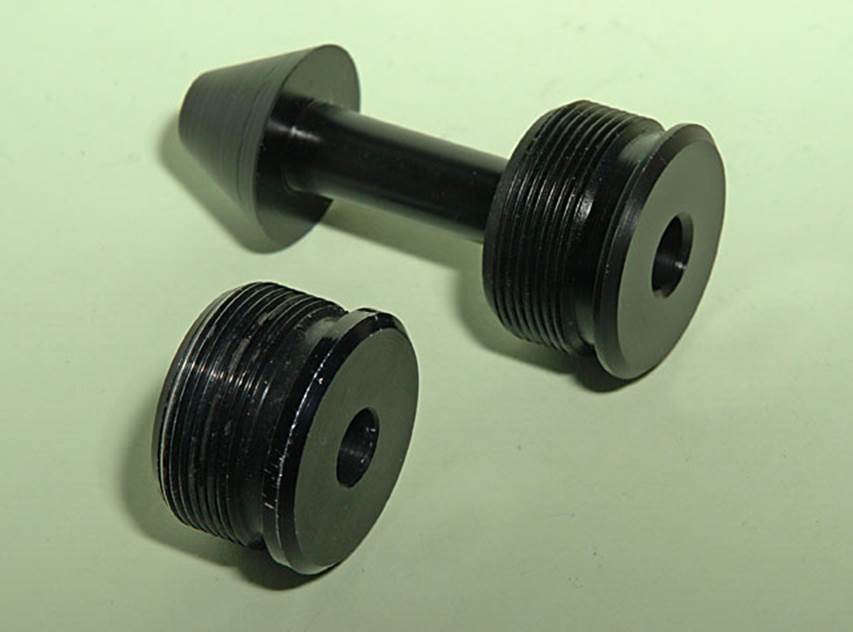
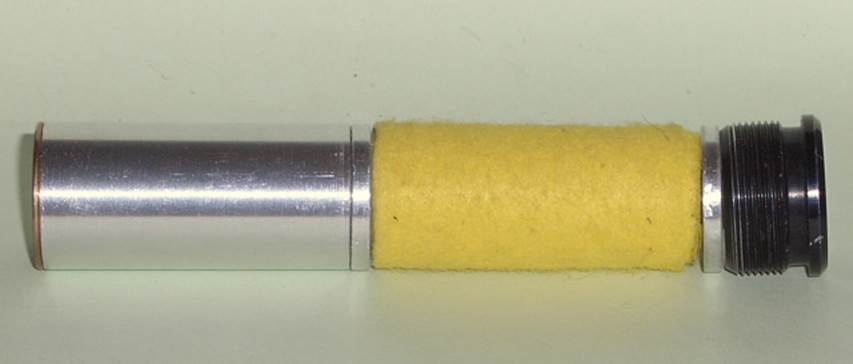
Modifying the end cap
The cone on the back of the end cap doesn't do much, especially once the vented support has been modified, so remove it. If you have a plastic end cap, just run a sharp knife around the shaft, guided by the back of the cap and the cone will snap off. If you have an aluminium cap, you'll need a fine saw to remove the cone. Either way it'll end up looking like the photo below.
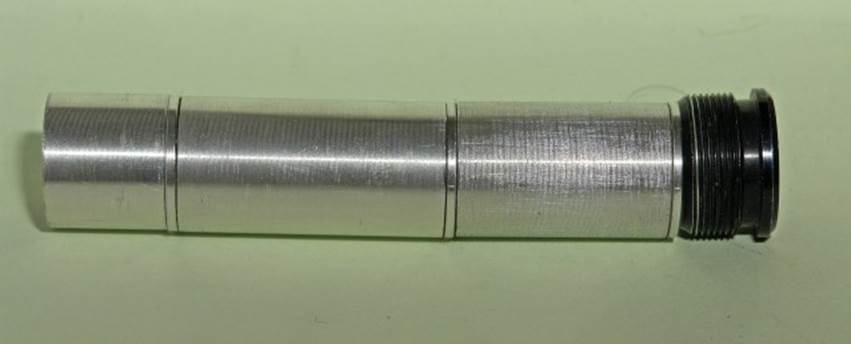
Re-attach the vented support to the barrel, making sure the grub screw is at the top and vertical. Carefully slide the shroud back over the support and screw it onto the back cap. Screw the front cap into the shroud and test the gun for noise and accuracy. You may find you're now happy with the noise level but if you're not, you'll need baffles between the vented support and the front cap.
Adding
internal baffles
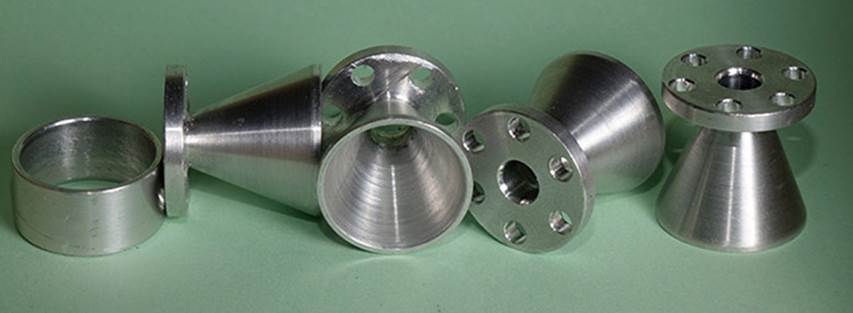
There are endless possibilities for designing internal baffles and some of my different designs are documented here. I'll just show some of the more successful designs here with the relevant dimensions. The two constant dimensions are that the outside diameter of the baffles should be 22.8mm and the overall length 103mm, at least for my MFR. It's worth checking the second measurement as it may vary slightly, depending on the position of the vented support on the barrel.
This is
the first design I was happy with. The large tube is 47mm long,
the cross-drilled tube is 50mm long with an i/d of
10.8mm and the rest of the length is made up by the washers. The diameter of
the cross-drilled tube isn't critical but smaller tubes seem to work better
than large (probably because there’s more material around the tube) and I'm
waiting for the parts to try an 8mm i/d tube. I've tried various materials for wrapping the tube -
j-cloth, felt cloth and kitchen sponge - which have all worked reasonably well
but felt is my current favourite. The metal washers have a bore of 6mm as I'm
using .177, 6.5mm or 7mm would be required for .22. The felt pads came from
B&Q but are probably available from the other DIY chains as well. I shoot
through them to mark the centre then use a hot soldering iron to open up the
holes to match the bores of the metal washers.
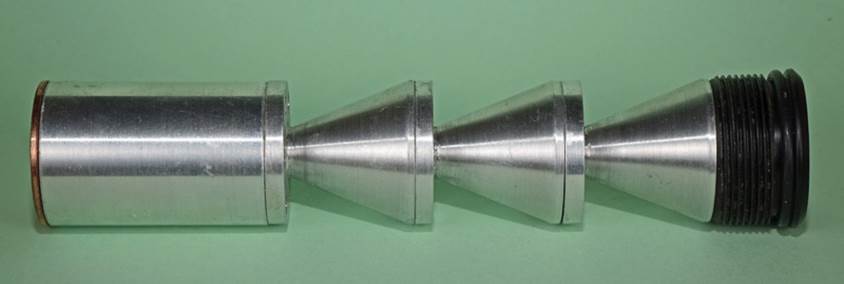
Further experimentation shows that an insert
with tube lengths of 20mm, 50mm and 30mm also works well. This follows the rule-of-thumb
that each chamber should be 1.6 times the length of the previous one but having
the smallest chamber to the rear and open instead of at the front and closed
seems to enhance the performance of the shroud.
I’d seen references to K-baffles in articles
on centre-fire moderators and wondered if they would work on airguns. Following
a discussion and experimentation by others on the AirgunBBS
I asked

I asked for
each baffle to be 23mm and 11mm for the initial expansion chamber. With
hindsight I thought 20mm for the baffles and 23mm for the expansion chamber
might have been better. I asked Neil to make these baffles for me and they just
didn’t work well. I now think 20mm baffles just don’t give enough space for the
air following the pellet to expand into. A good bit of experimenting showed
that replacing the first 23mm baffle with an expansion chamber for a total of
34mm gave the best results. A washer between the vented support and expansion
chamber also made a definite improvement.
I like this
design as it’s just metal so there’s nothing to fray or leave fibres in the way
of the pellet. As it’s effectively multiple air strippers, it doesn’t sound as
effective when dry-fired as it does when a pellet is passing through.
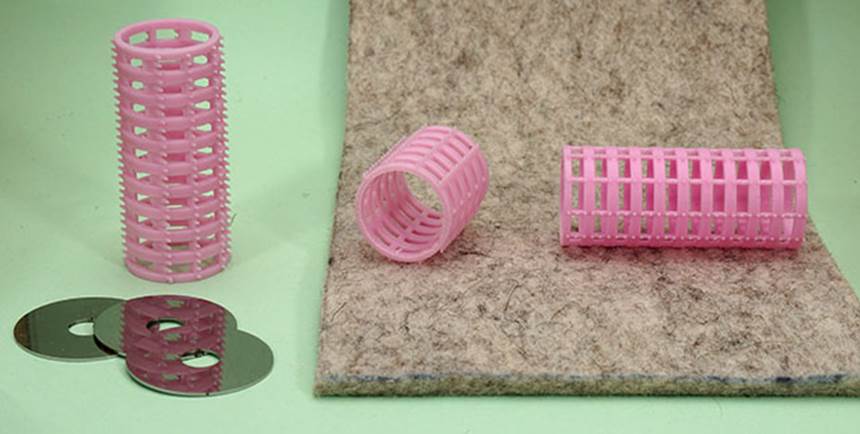
I eventually
tried a miniature version of the internals of the Weihrauch moderator. This
worked out quite neatly as two 40mm sections of hair roller with a 20mm section
in between, the rollers wrapped in a combination of j-cloth and felt. This
seems to be my best design to date with the last K-baffle design in a close
second place.
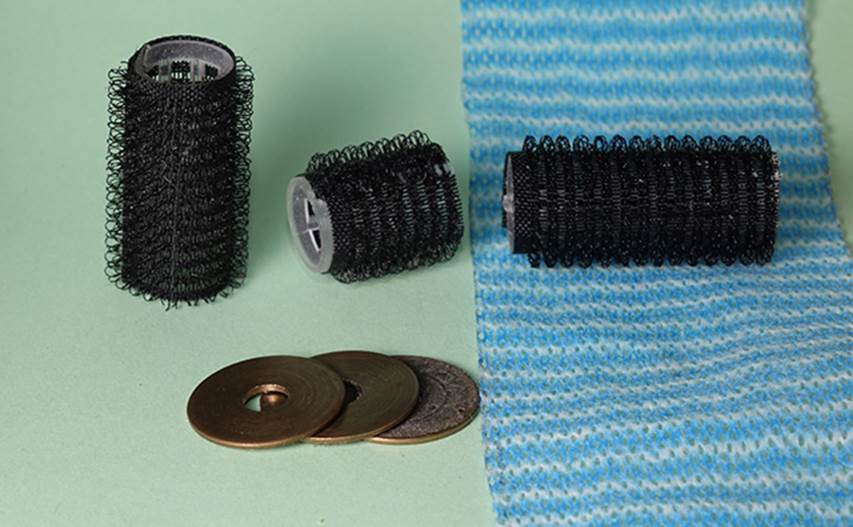
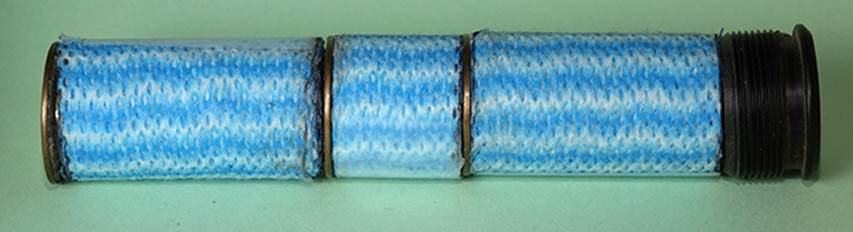
A further refinement of this design is to remove the fuzzy bits from the rollers and replace the j-cloth with thick felt. I bought mine from Hobby Craft and for some reason chose dark blue.
I’ve
since made a few important discoveries which have helped tweak the hair-roller
design into what I hope is its final form.
- The thinner the
baffles, the better. I now have some that are just 0.5mm thick, laser-cut
from stainless steel. Guess what thickness Weihrauch uses in its
moderators….
- A baffle between the last roller and the end cap makes
a difference, especially in .177. Try this on your Weihrauch moderator, if
you have one.
- The best material I’ve found is 100% wool felt and a
single layer of 3mm to 4mm with a suitably sized roller is all that’s
needed. This is easily available on eBay but the felt is often a bit
thinner than claimed so you might have to experiment to find the right one
to go with your rollers. You’ll need rollers with a diameter of 15mm to
17mm. This setup seems to ‘shoot in’ and improve with use.
An
experiment I’d like to do is to make the felt & roller design in the 20mm,
30mm & 50mm lengths I mentioned for my second design, much further up the
page, then try them in all six possible orders to see if any of them improve on
the 40mm, 20mm, 40mm version. Unfortunately, the felt seems to have expanded
with use and is now so tight between the shroud and roller that I think I’d
need to remove the shroud and use a dowel to push everything out! Frankly, it’s
just not worth the effort as the current design is good enough that it gets
compliments on how quiet it is.
Looking back at
all these designs, with the exception of the second one which is possibly a
special case anyway, the common feature is that the best ones start with a
large expansion chamber. Use this as a starting point if making your own
design.